If you’re a craft lover like me decorating for the holidays is something we look forward to doing. Having a small apartment, I don’t like to overdo it with the decorations, so instead I create ones that will fit perfectly with my space. This year was the first year I was hosting dinner for the holidays at my apartment. I wanted to make a statement right when you walked into the door, so I decided to go with a wreath.
I saw a wreath I liked at Target that was super inexpensive. I wanted to use this for the base and then create the typography myself. The first steps you have to take is to decide what word you’re going to use. This year I chose the word “Celebrate.”

Next is designing your typography using whichever program you prefer; I use Adobe Illustrator. First I typed out my word and adjusted the kearning to make sure everything looked ok. I chose a thick script font because I knew I was going to cut the letters out and wanted them all to connect. Once done, print it out on a thicker card stock paper. I make the color of the letters about 20% black, so I know where I’m cutting. Cutting takes the most time and patience, so if you’re not the best at this, you can always ask someone for help.

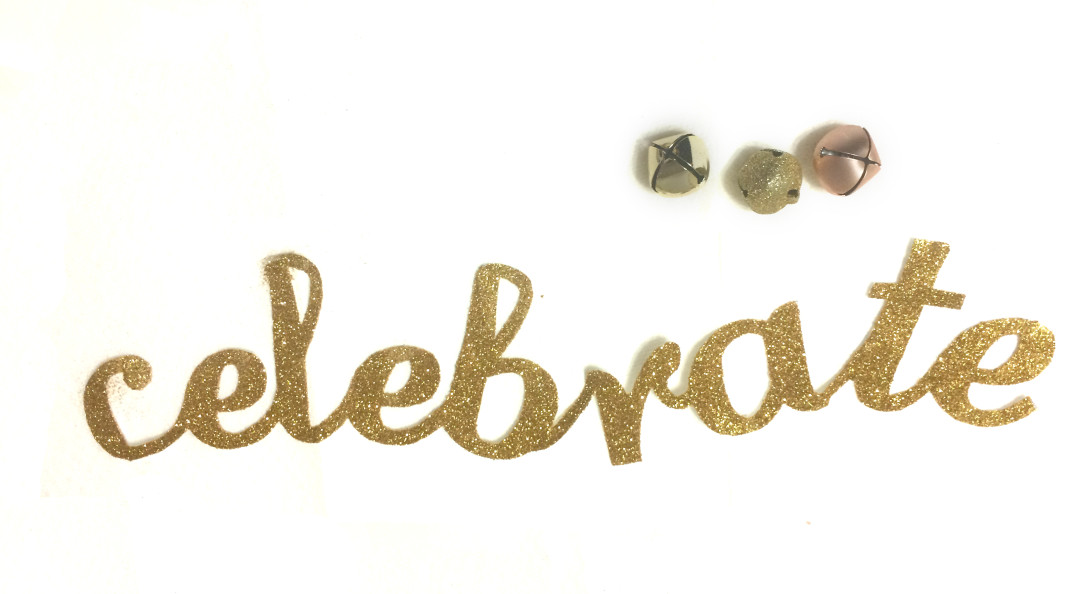
I wanted a little more dimension and some color on my typography. I chose a gold sparkle that I thought would go great with the wreath. This part gets messy, so I suggest that you can do it in an area where you don’t mind glitter going everywhere. I covered my letters with glue and then sprinkled all the glitter. Here you have the opportunity to get creative; you can choose two colors or have different shapes, whatever you go with will make it look great!
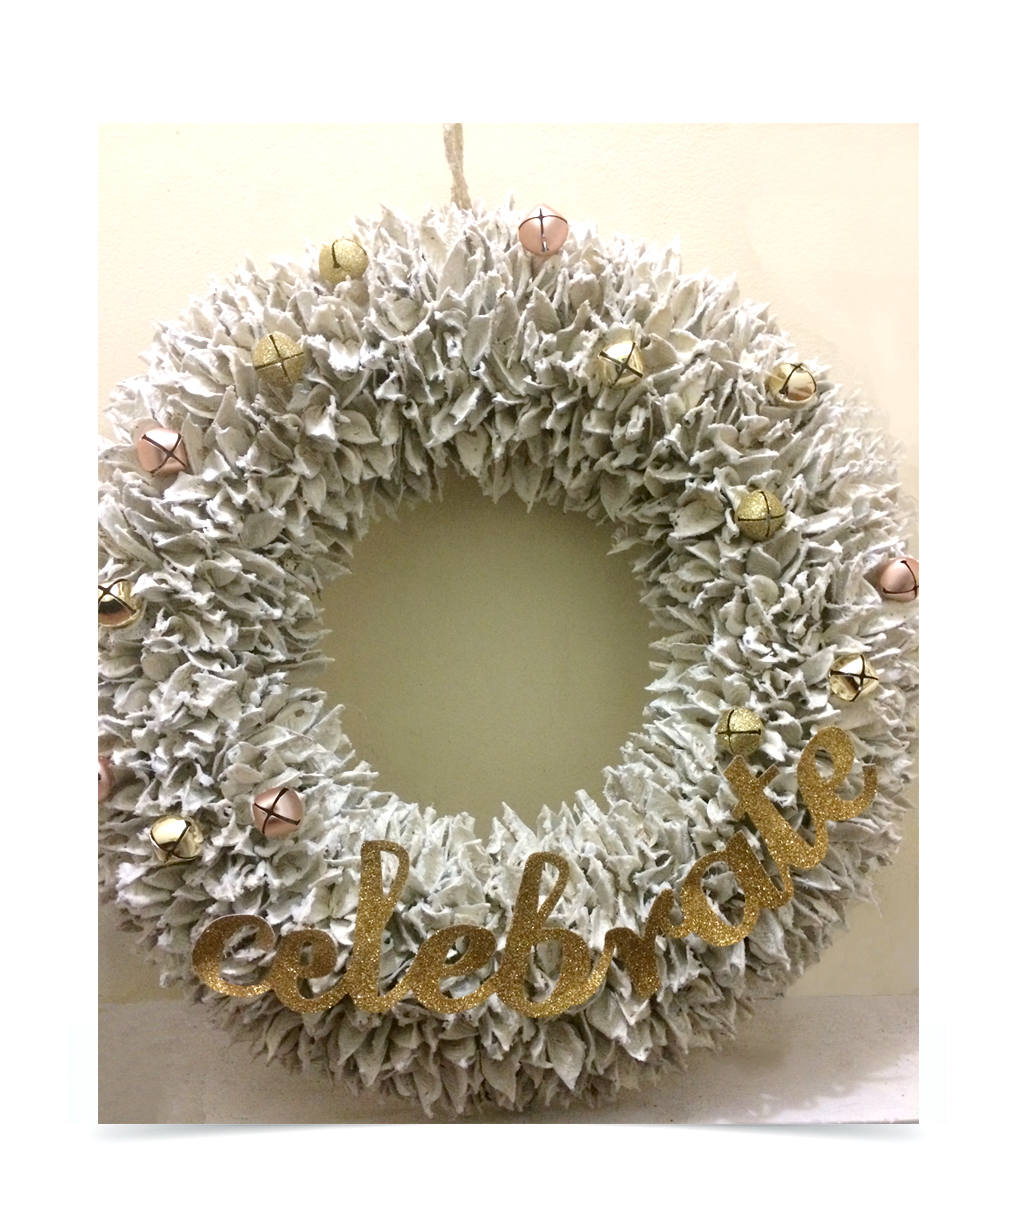
The next step should be putting it all together. It’s time to attach your typography. I chose to do mine to go at the bottom. I didn’t use a thick enough card stock so having it go across the middle didn’t give it the support it needed to stay upright. All that’s left to do is hang it up for all to enjoy!
