
October is well under way, and Halloween is fast approaching. I am not a fan of the messy process of trying to dissect and carve a pumpkin, but I still want my décor to be nicely designed. This year, I have opted to combine my passion for design and my love of Halloween by creating typographic pumpkins. Here’s a step-by-step look at how to create your own.
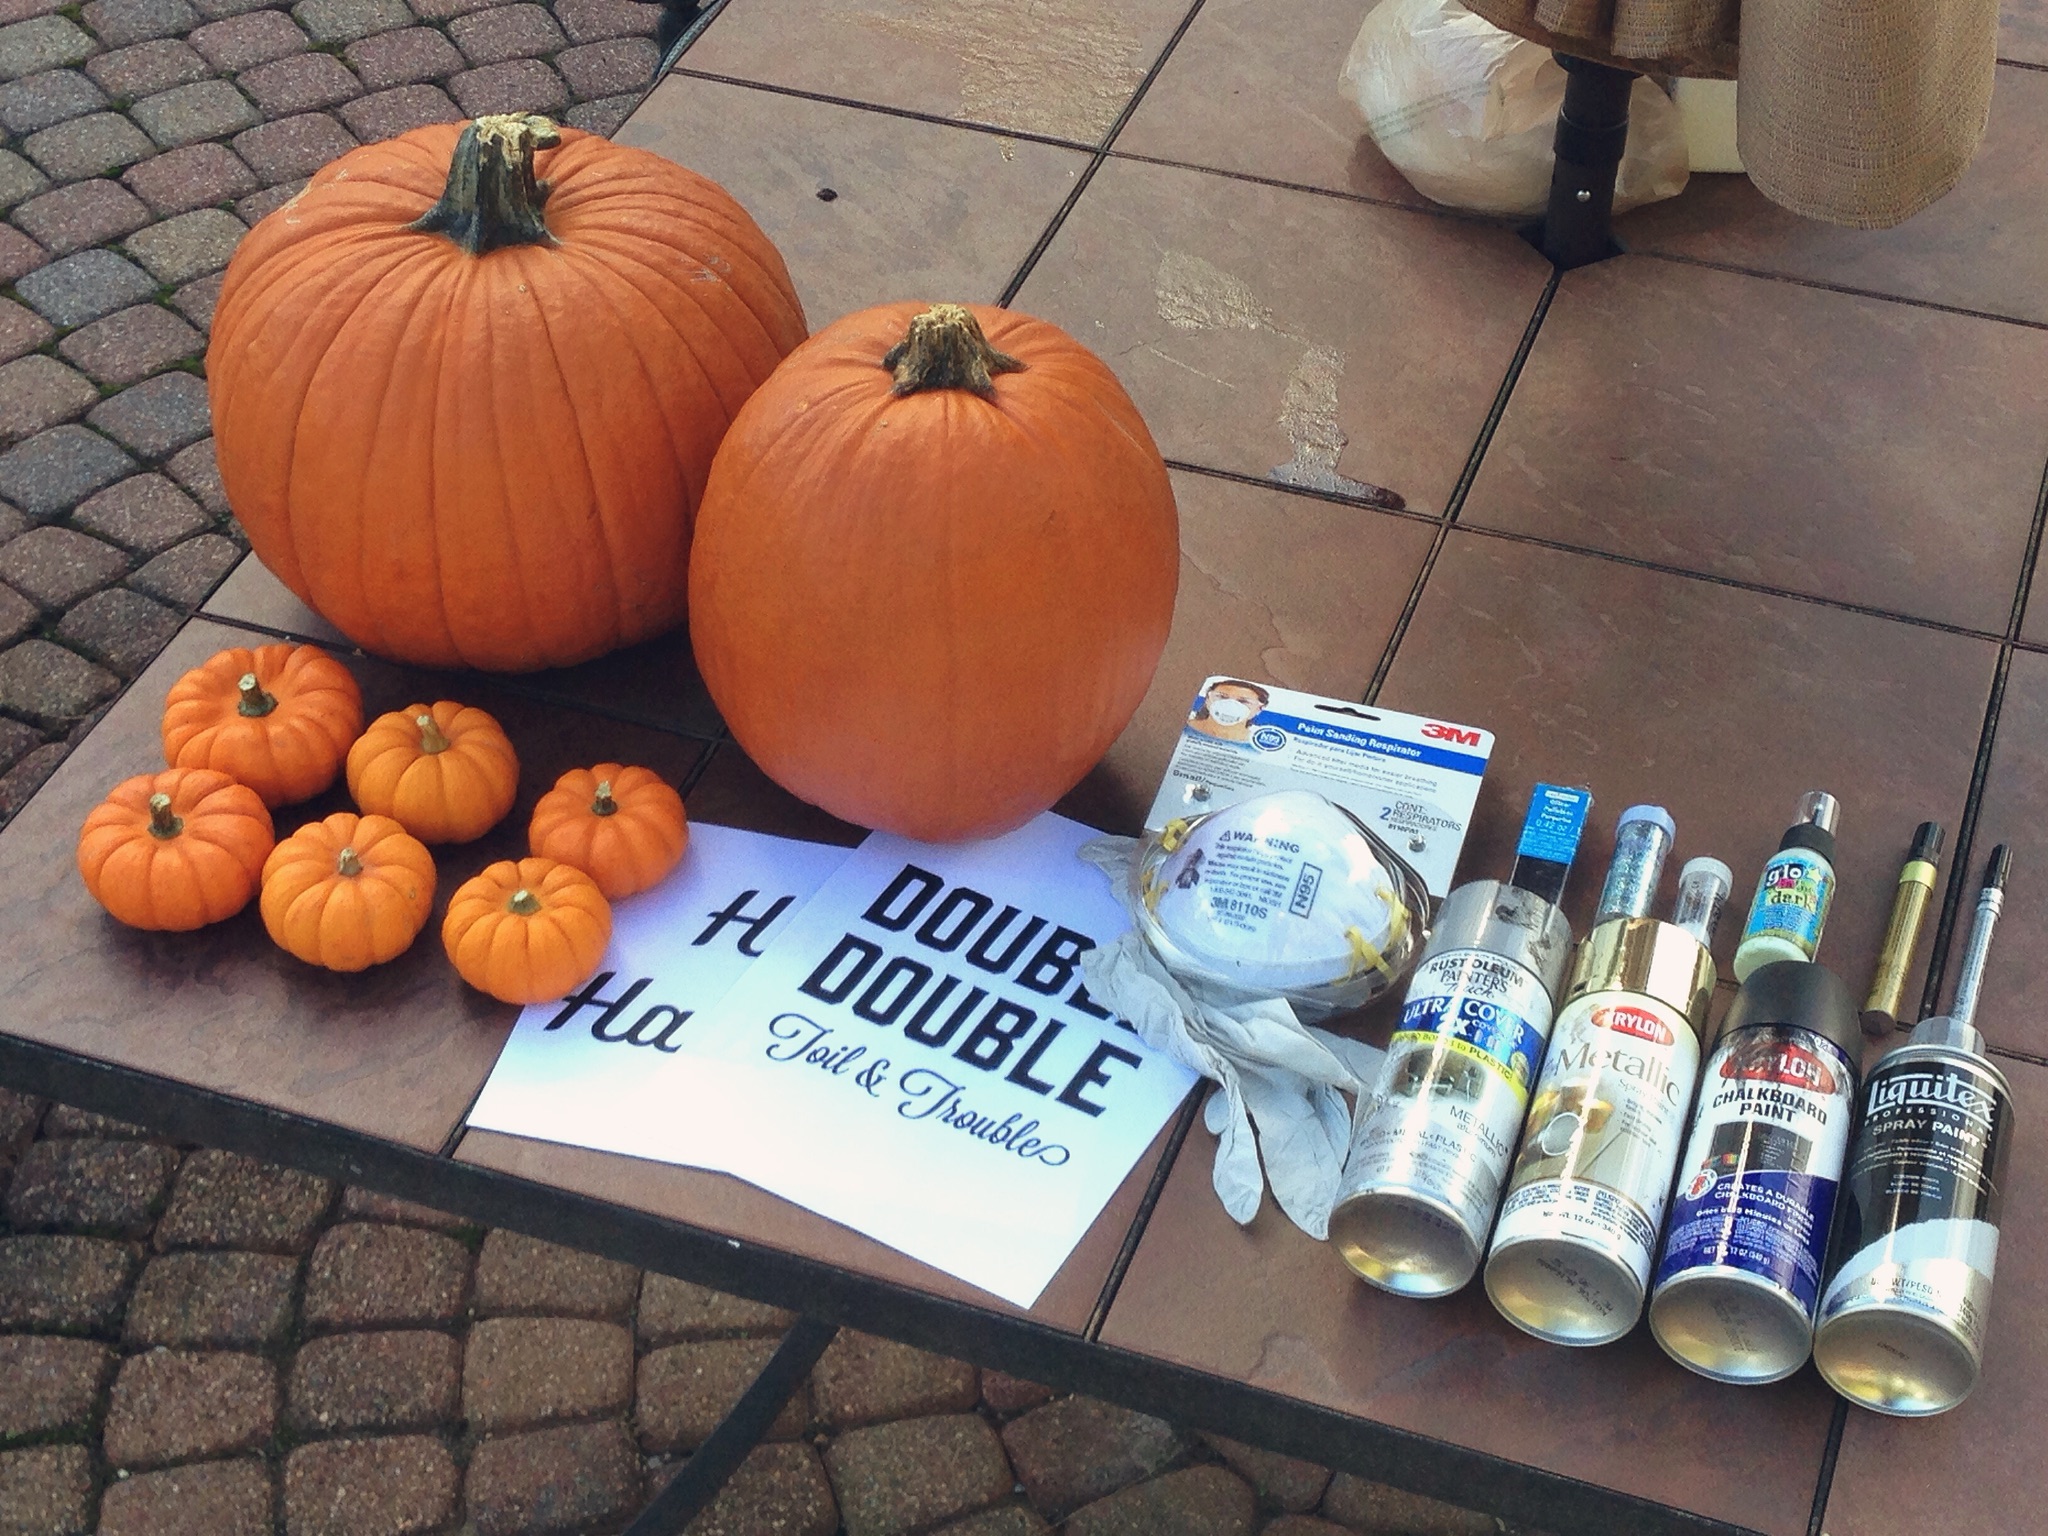
Tools you will need:
- 2 large pumpkins (I like to get one round and one slightly taller for a more interesting visual)
- Computer & printer (for the type you will be tracing)
- Spray paint (I chose 2 metallic and 2 matte colors for a classy looking display)
- Respirator mask (don’t need to be inhaling nasty fumes, even if I am outside)
- Gloves (for easy clean up)
- Metallic & black Sharpie markers
- Acrylic paint (to match my spray paint colors)
- 1 pen
- Painter’s tape
- Optional: glitter, glow-in-the-dark-paint, medium & small square and bright paintbrushes
It’s a beautiful day, and you’ve selected the perfect pumpkins to create your Halloween porch display. It’s going to be a messy job so find a table or area where you can spray-paint the pumpkins outside. Don’t forget to put on your respirator and gloves.
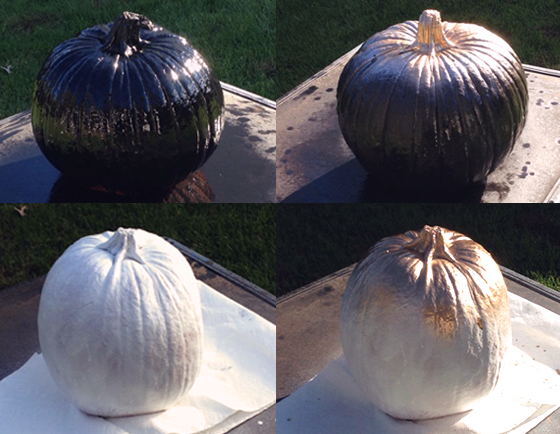 STEP 1: Spray Paint those Pumpkins
Choose your base coat; this will be the main color of the pumpkin (I picked black and white). Make sure to cover the entire pumpkin. The bottom doesn’t need to be perfect but spray as much as you can. Add any secondary colors you would like to use (in my case, metallic gold and silver). Don’t be afraid to experiment! (Helpful hint: spray from farther away & in quick bursts for a subtle hint of color.)
Side note: Be careful if the weather has gotten a bit chilly. You don’t want the nozzle of the spray can to clog as you’re painting.
STEP 2: Format the Fonts
While you wait for the paint to dry, it’s time to hop on the computer and find fonts worthy of your pumpkin. Choose fun spooky phrases or wish visitors a Happy Halloween. Go simple with your lock-ups or get crazy with your designs. Print out your type and hold it against the dried pumpkin to make sure you like the size & positioning. For my designs, I used Lavanderia (Happy Halloween) and Gin paired with Benson script (Double Double Toil & Trouble).
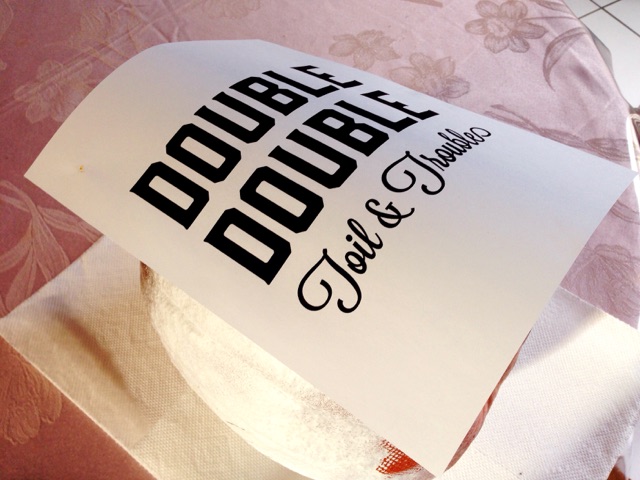 STEP 3: Trace the Type
Now that the pumpkins have dried, it’s time to start tracing the letters. Use painter’s tape to hold the paper in place after you have positioned it. Using a pen, hold down the paper and firmly outline each letter; this will create a small impression of the letterforms on the pumpkin. Larger designs can be a bit tricky since you’ll have to work with the curve of the pumpkin.
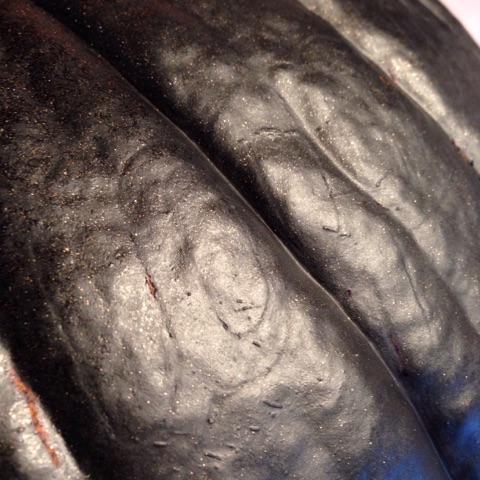 STEP 4: Fill in the Letterforms
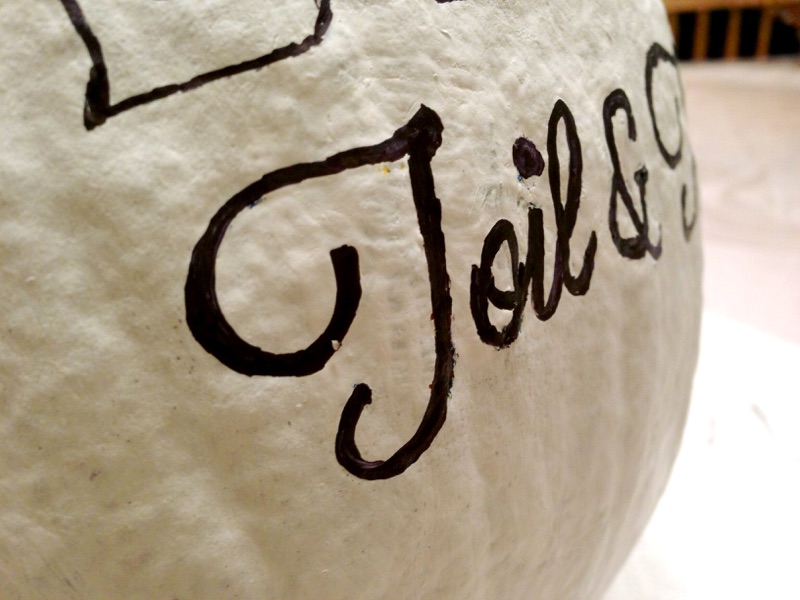
Once all the letters in the design have been traced, it’s time to remove the template. It is time to color the text! I like to stick with the color theme and opt to fill in the black pumpkin with gold lettering and the white pumpkin with black lettering. Make sure you’re in a place with good lighting, so it’s easier to see the marks on the pumpkin. Start by marking the outlines and color each letter in fully. If the black sharpie gives you some problems, go over your work with black acrylic paint.
 STEP 5: Finishing Touches
Now that the type design is complete it’s good to go over the pumpkin and fill in any areas where the pumpkin is still showing through. The base of the pumpkin might need the most touch ups. If you want, feel free to spice up your pumpkin by adding glitter or glow-in-the-dark-paint. Once you’re satisfied, leave the pumpkins to finish drying.
STEP 6: Set up the Display
The final step is to add your pumpkins to your Halloween display. Play around with skulls, cobwebs, baby pumpkins and other elements that add fun to your nicely designed pumpkins.